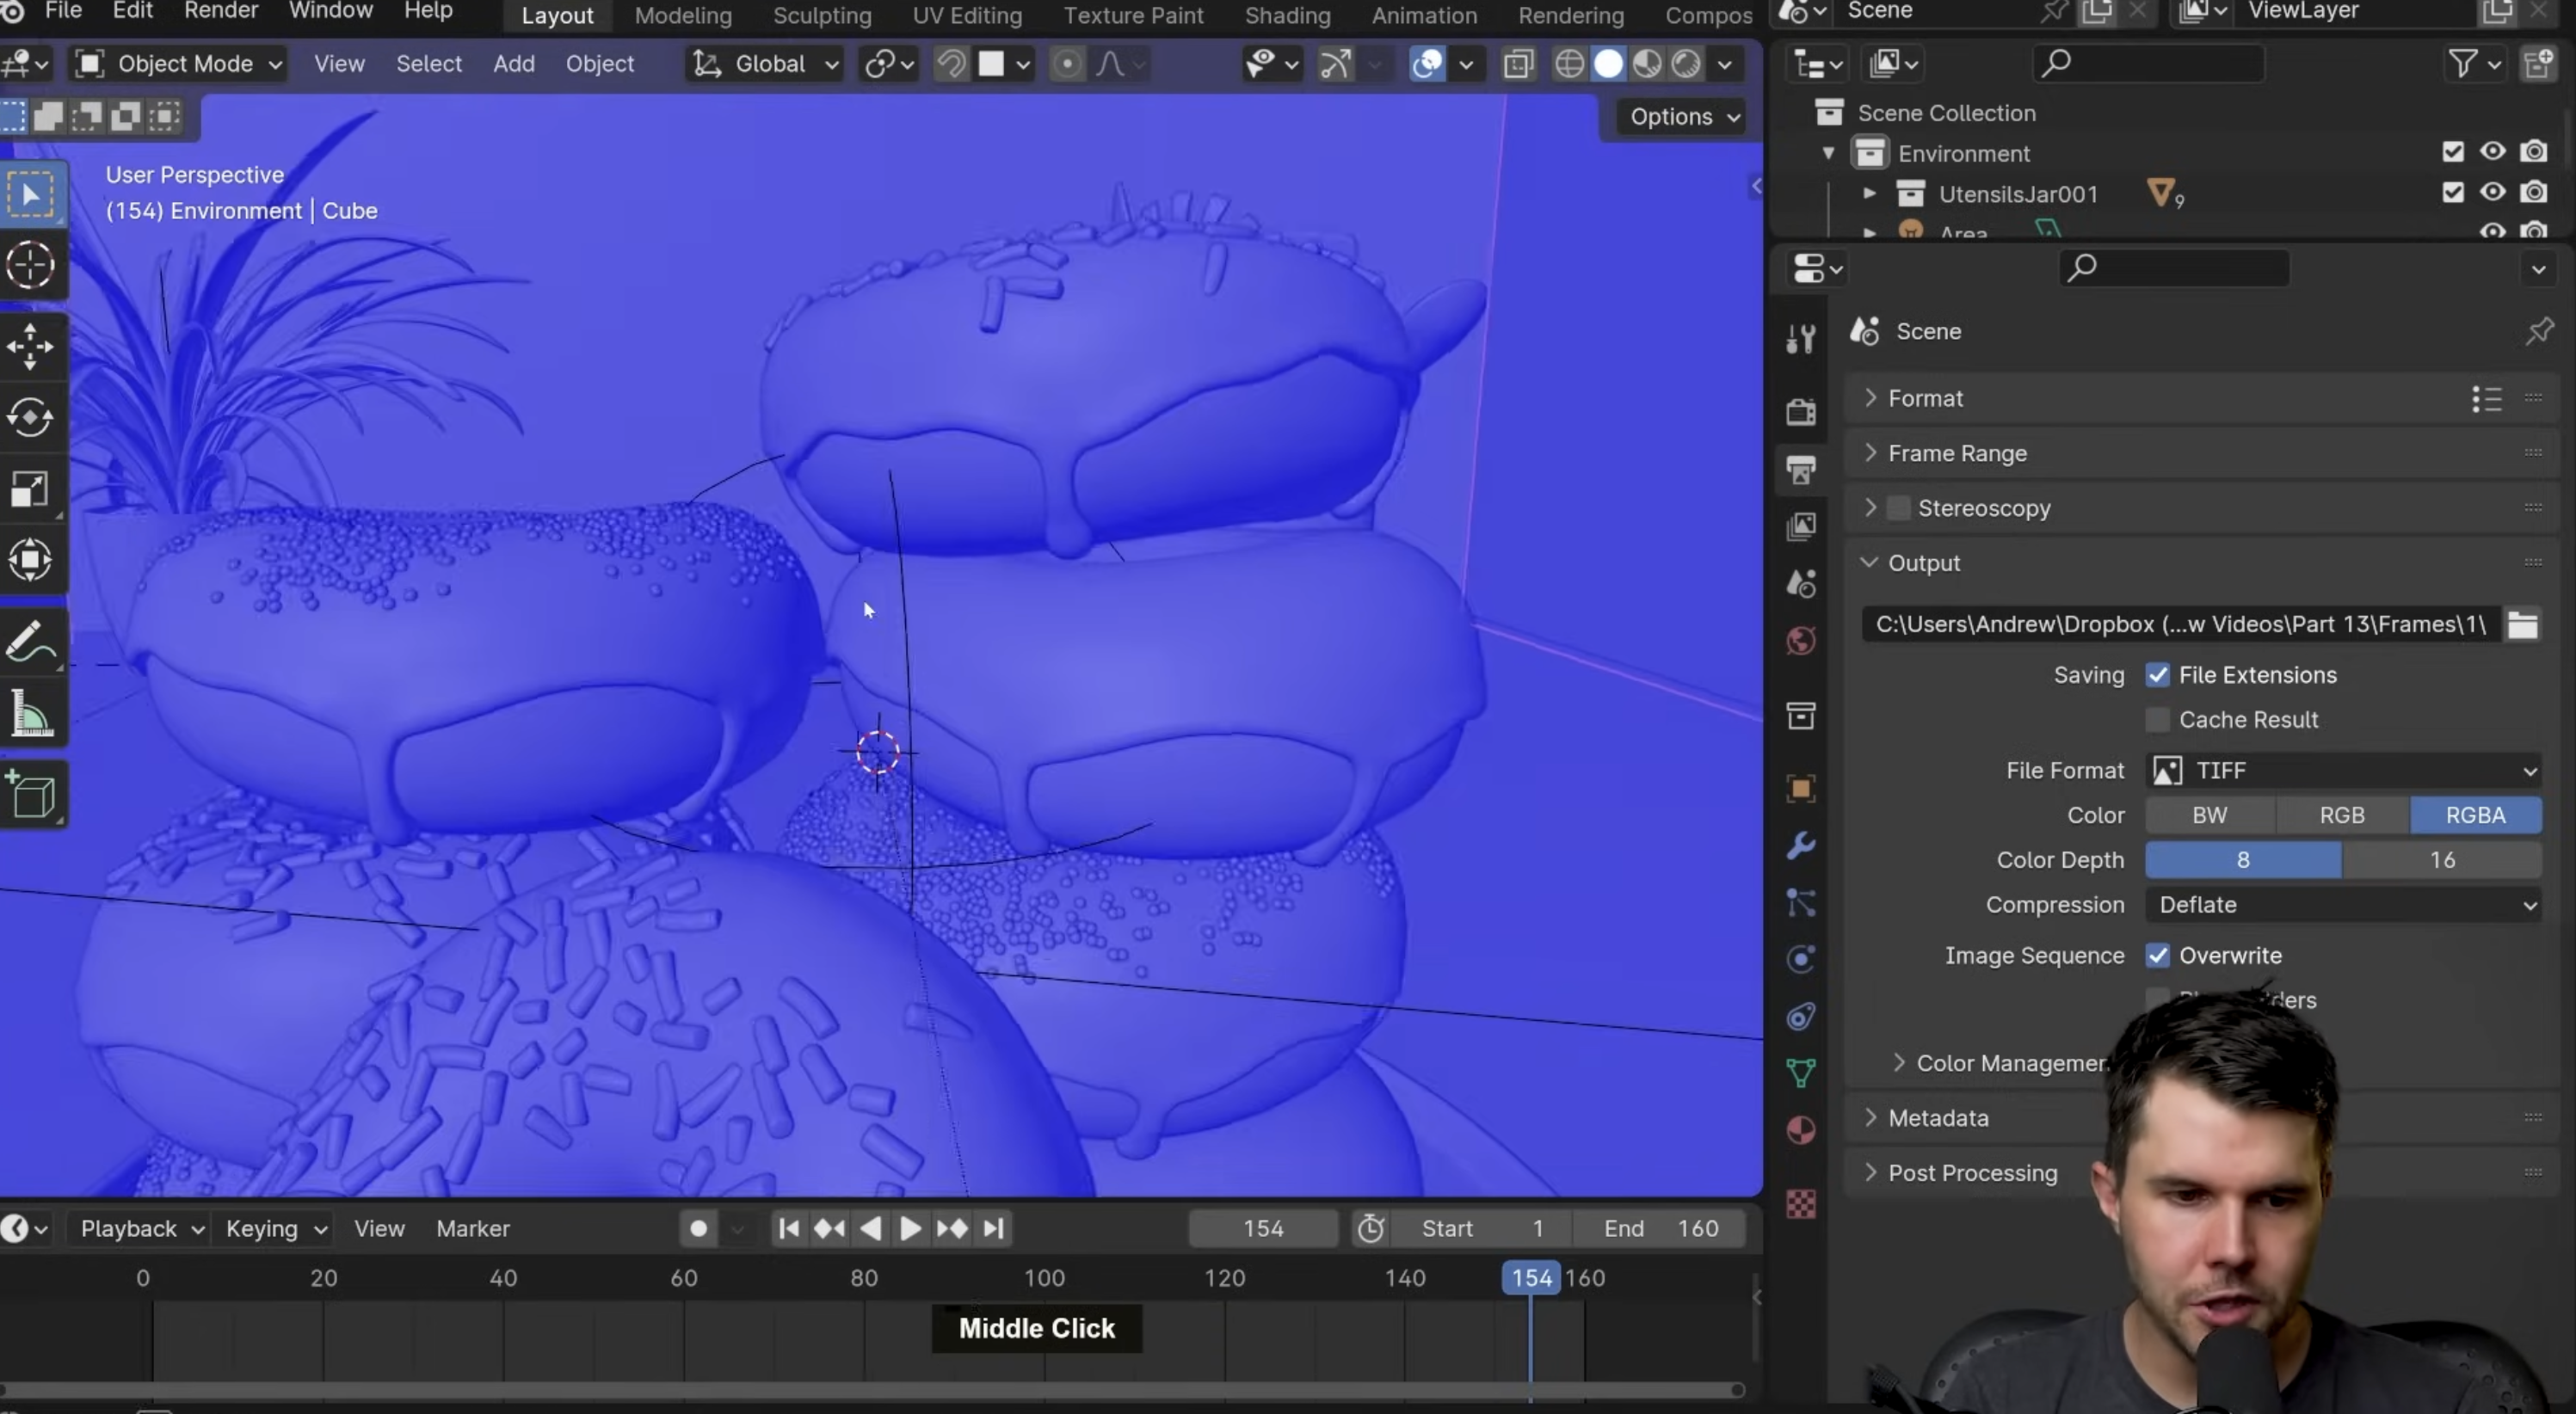
Blender
Always been postponing learning this.
Resources
- Animation for Beginners! (Blender Tutorial)
- Really good for beginners
- Blender Tutorial for Complete Beginners - Part 1 by Blender Guru
- talks a bit more about color and material
- If you are hardcore, finish the entire playlist https://www.youtube.com/playlist?list=PLjEaoINr3zgEPv5y—4MKpciLaoQYZB1Z
Really cool shit
- Product Animation in Blender: Phone
- Camera Lens Rendering Tutorial
- https://www.youtube.com/watch?v=lZPedlX6CMw (the one I followed for lenses)
Channels
-
Blender Guru is pretty goated, I loved his donut series
-
https://www.youtube.com/@DerekElliott/videos → Good series of tutorials on mostly everything?
-
https://www.youtube.com/@Polyfjord/videos → Wow his videos are beautiful
-
The Secret to Pro Renders in Blender(talks about Lighting)
-
How to Light Products like a Pro in Blender(This is a camera lens render)
Tutorial: Making a Physics-Based FPV Camera Rig in Blender
Tutorial: Quick Smooth Camera Movements in Blender
Animating Assemblies in Blender
- Solidworks assemblies animated in blender, this is definitely something I need to get into
THIS IS FIRE https://www.youtube.com/watch?v=IC0-9b0Rv2g&ab_channel=GeorgeKayesi
https://www.youtube.com/watch?v=H6tblQaWx0I&ab_channel=Smeaf
Use i to keyframe (have the value selected)
- The other way is to right click, and manually add the keyframe
Yellow = keyframed Green = not keyframed
orange line means the 2 keyframes are the same
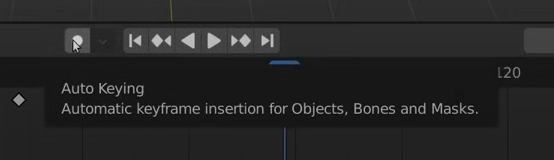
This is the auto-keying button
If you don’t know the command, just type in F3 and then search!
I → Insert keyframe (really important to understand) N → Show side panel with all the tarnsforms Shift + A → Add a new item
S for scale (same as after effects I guess)
T key for keyframe interpolation, seems quite useful (at 26:29)
Shift + Right Click → Sets the cursor with red outline to that area, it’s like useful for pivot? From this tutorial: donut animation part 12 Shift + ` → Fly mode
option (alt) + Click → Selects the entire ring
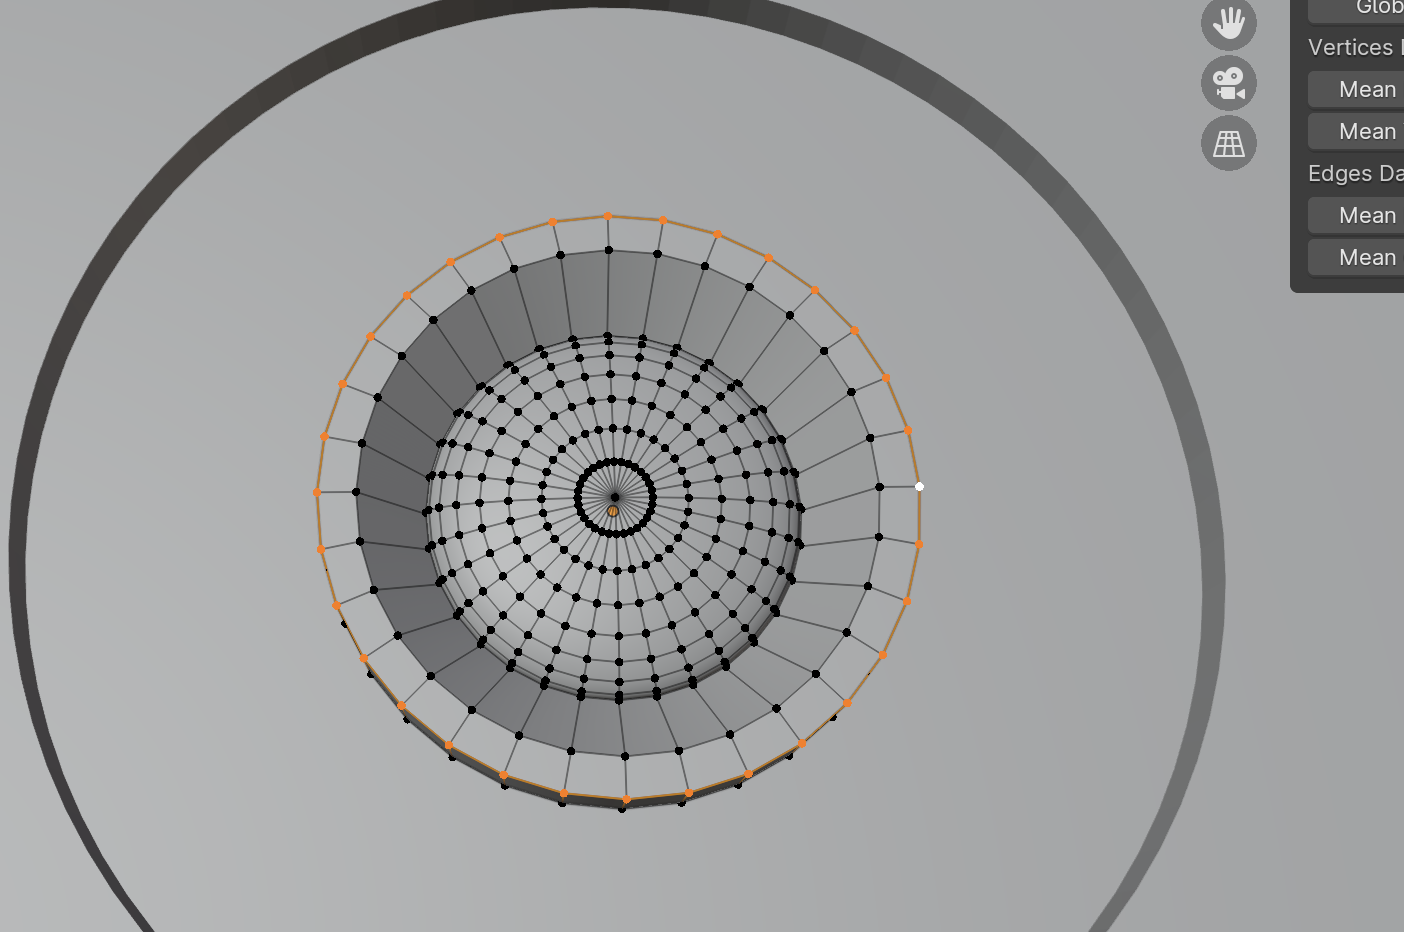
Command + Click → Selects only the 2 things
Shift + D → Duplicate (with your selection selected) C → Will give you an area (a ring) for a selection, and then you can select everything inside it 1 is front orthographic cmd + 1 is back orthograph
Tab shows the vertices of the object
A common thing he does is pressing E, and extruding
Camera inline
- Ctrl + Alt + numpad 0 (Not working)
- You can go into
Alt + G → Move object back to origin center
Press b → snapping mode to objects
- Alt + middle mouse to moving while in this mode available in blender > 4.0 Add a depth of field to the camera, omg that is going to make it soooo good.
Go in settings, and make the numpad available whatever from this tutorial
0 → View as camera (really simple) Command + 0 → Set current object to active camera (DANGEROUS, BAD USUALLY) Alt + Command + 0 → Set camera to current view, pretty good
How to link child and parent: Select child first, then parent while holding down shift, and then ctrl + p (Select Parent (keep transform))
More blender shortcuts: Blender Shortcuts
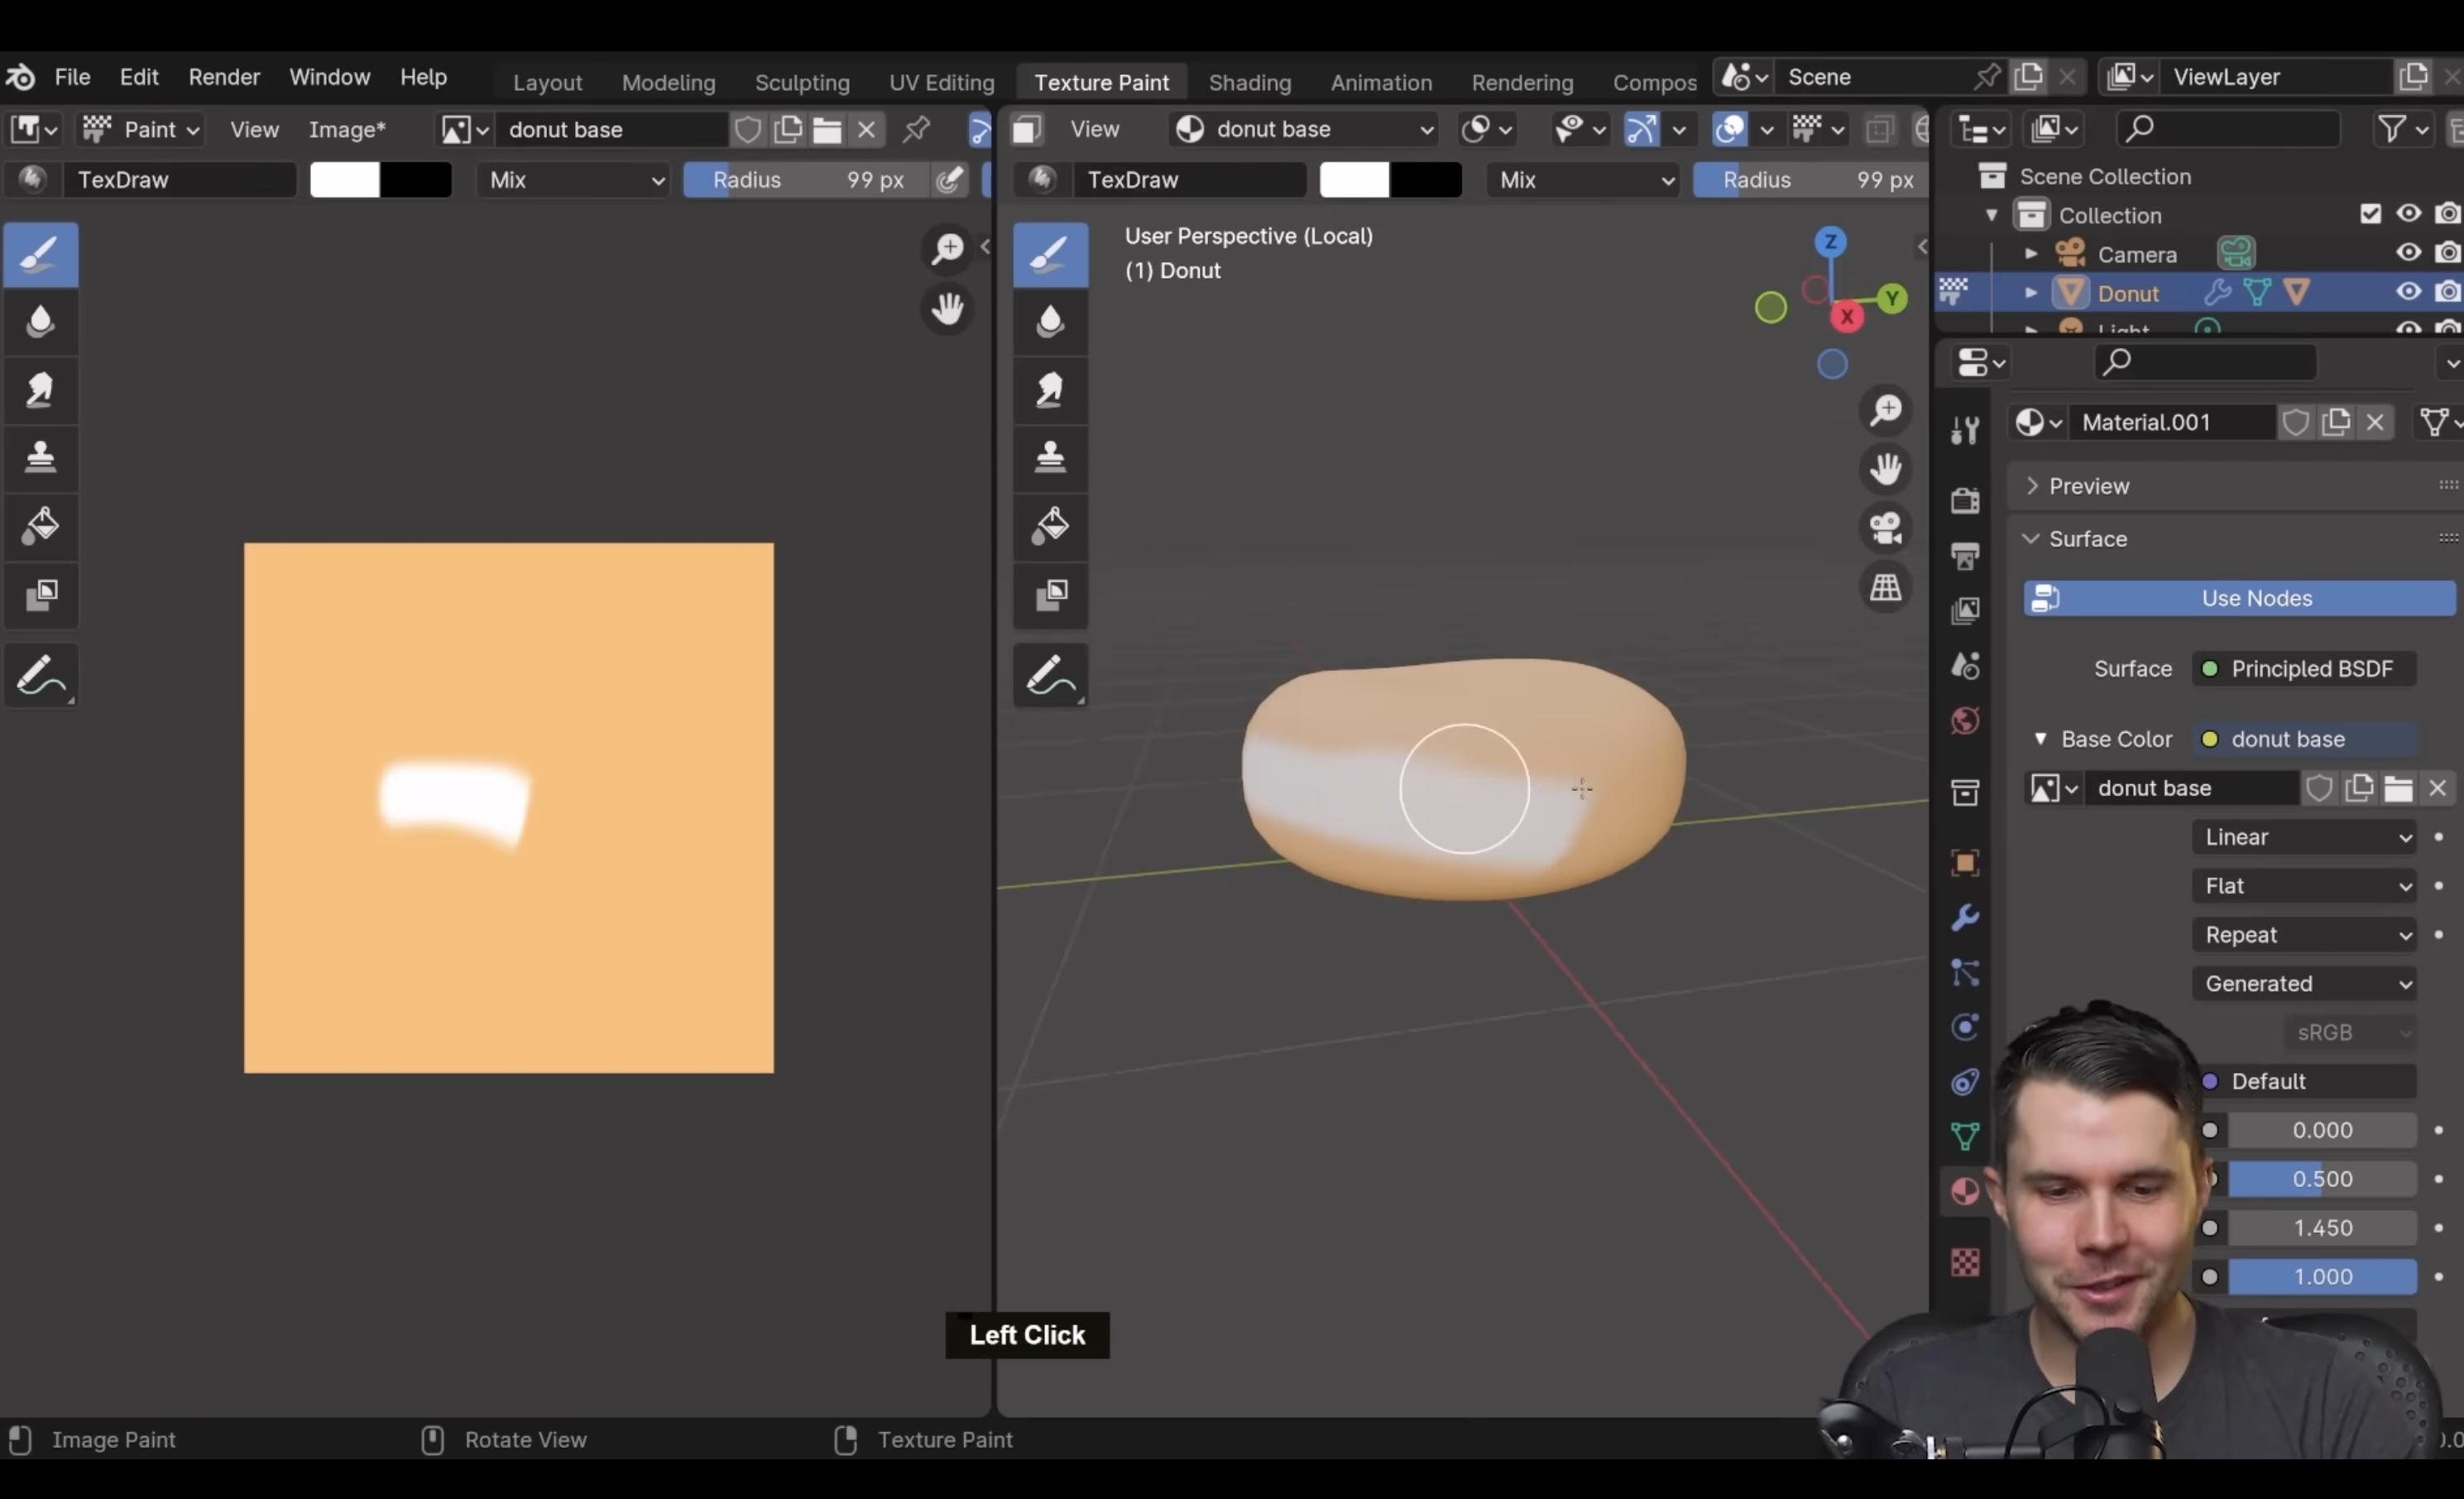
Episode 5: Materials / Color / Textures
To get the textures, go to this site: https://www.poliigon.com/?utm_campaign=donut4&utm_source=youtube&utm_medium=bg
Switching to render-view mode
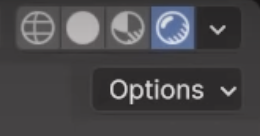
- 1st one, you’ll only be able to see the wires
- 2nd one is just monochrome, you won’t see color
- Although for me, the 3rd icon is actually the closest one, where I see changes?
Basically going over this menu
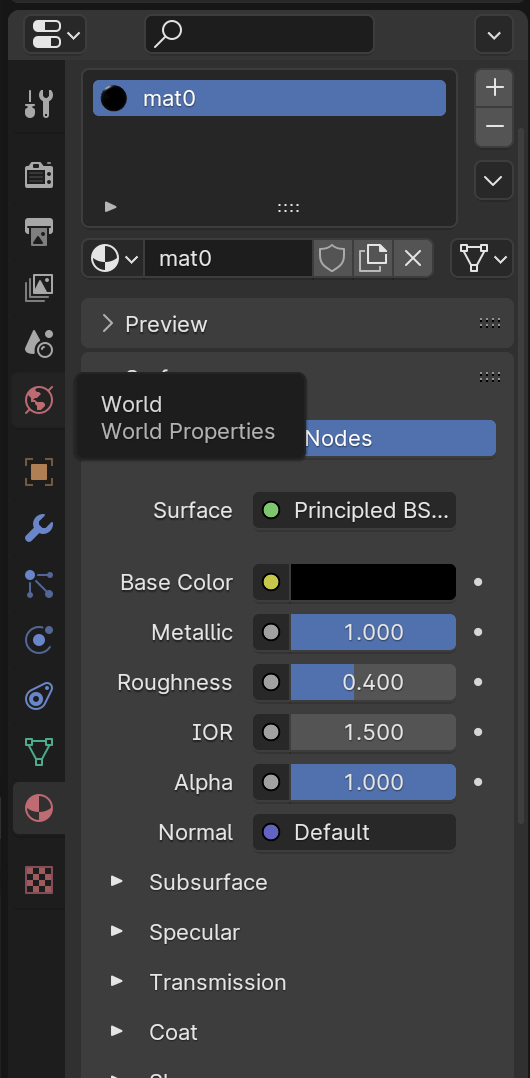 Roughness = how shiny
- 0 is basically like a mirror finish
- 1 is like a brick
You should actually go to the “shading” tab to do more of the serious work.
he also shows texture paint, now THAT’S COOL!!
- This is also a really good video that should explain everything
Episode 6: Coloring and a little rendering
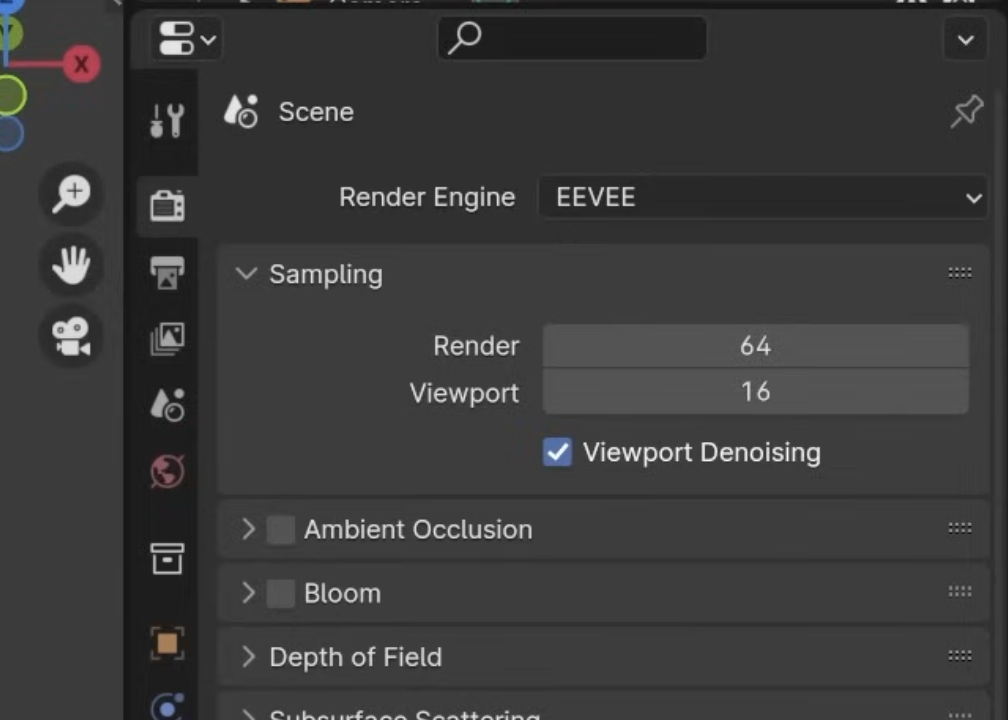
- EEVEE is the real-time rendering (rasterized rendering engine)
- Used for game engines a lot?
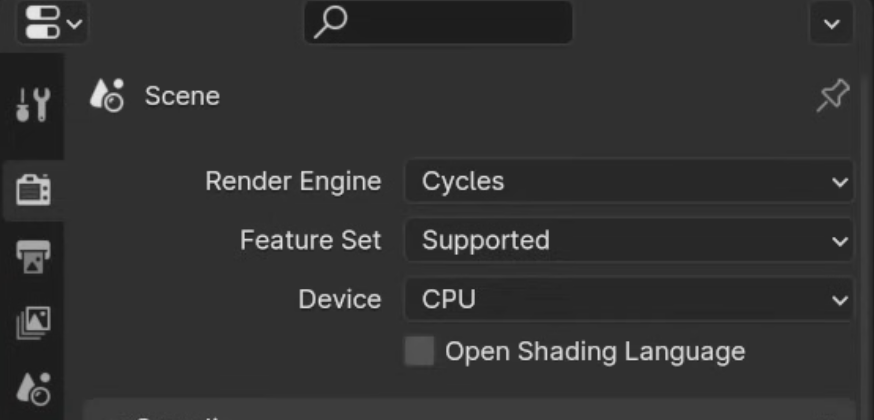
- Other kind is ray-traced / path traced engine
If you want the raytraced version, select Cycles
Lighting
- He uses the diffuse
Don’t just add sunlight. It’s about the skylight around it.
Doing the final Rendering
Wow this is actually has its own video, and there are lots to talk about https://www.youtube.com/watch?v=fSfFkh2sI4k&list=PLjEaoINr3zgEPv5y—4MKpciLaoQYZB1Z&index=13&ab_channel=BlenderGuru
Tab to select object And then shift + n to recalculate the normals
Make sure all of the inside is blue