WATonomous Field Usage
These are the commands that I use to get a self-driving car working and driving by itself.
Track Day Checklist
Power up the inverter
Make sure the (Velodyne has those settings).

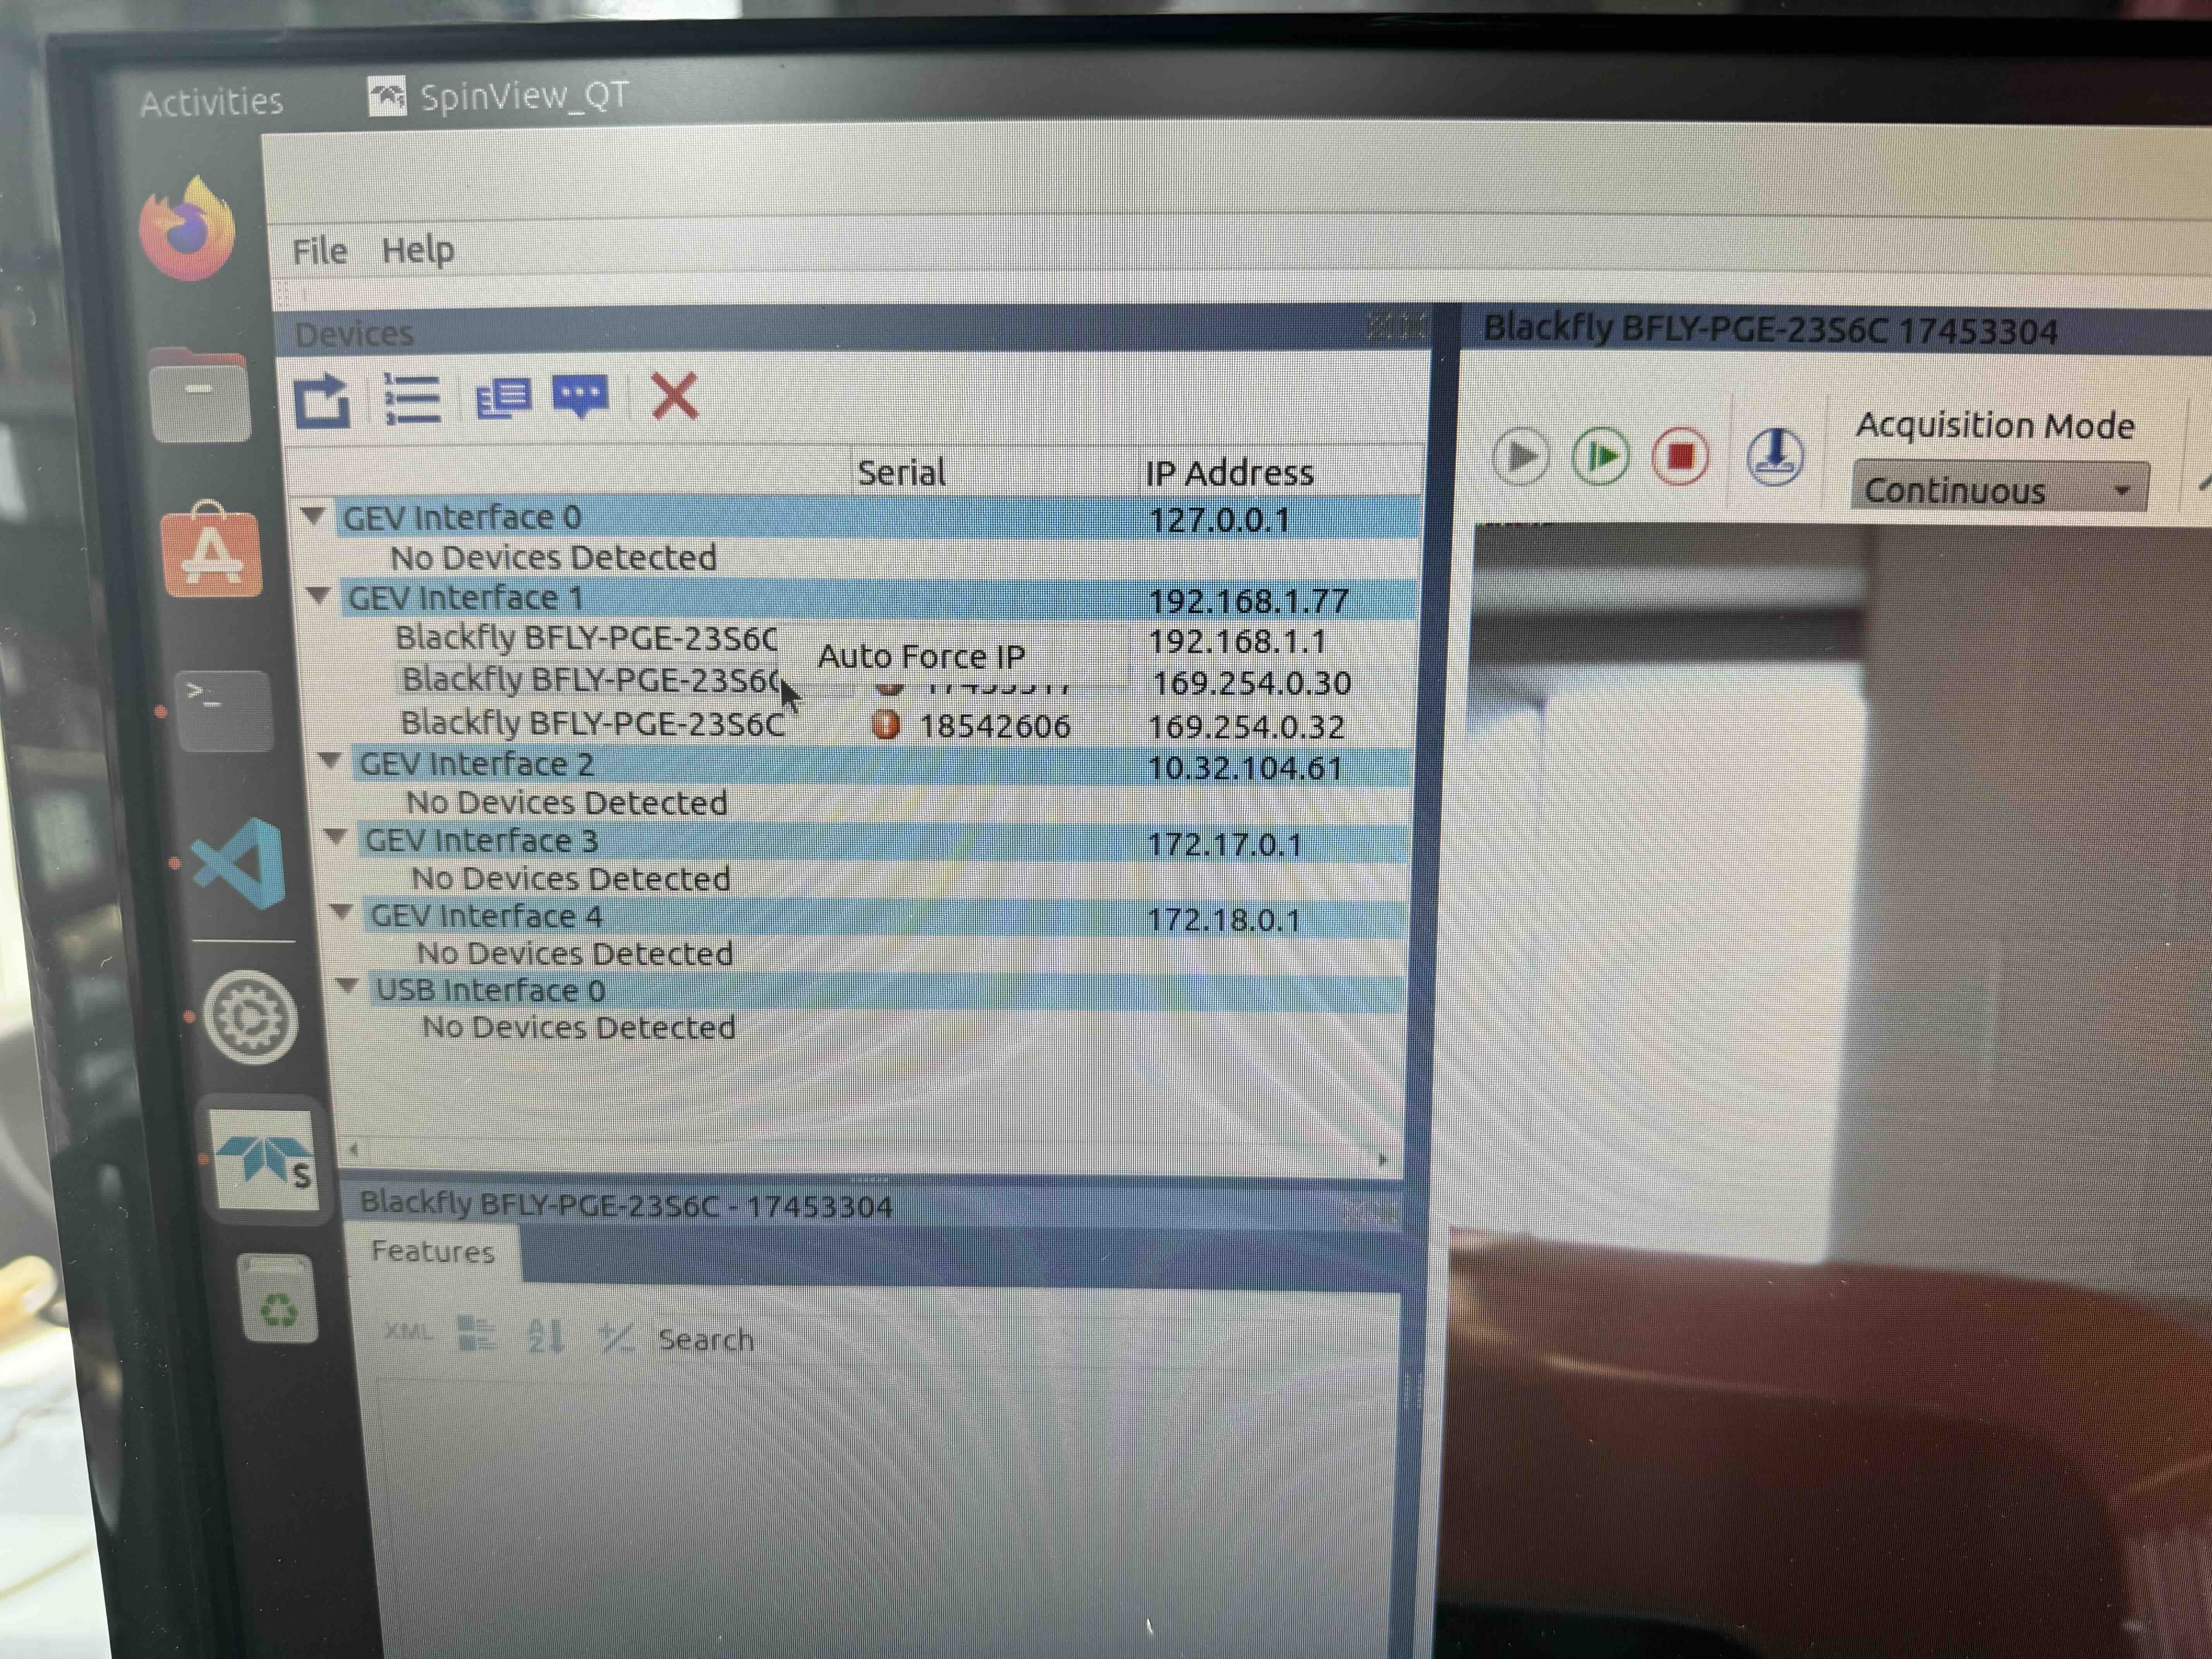
Open up Spinview, and auto-force IP

Call sensors, which is an alias and brings up all the sensors.
bagrecord
Do NOT open up
rviz2/ros2 topic echoWe see that performance deteriorates as soon as more subscriptions are added to the publisher. This makes our life pretty hard
Uploading rosbags:
Use this command (I added the ssh keys to s36gong account on delta machine)
scp -i ~/.ssh/id_rsa -o ProxyJump=s36gong@bastion.watonomous.ca -r /path/to/local/folder s36gong@delta-ubuntu2.cluster.watonomous.ca:/mnt/wato-drive2/rosbags2/2024
Initial Setup
Compute Setup
The computer is installed with Ubuntu 22.04.
Setting up eGPU
The eGPU is a bit tedious to set up. We’re moving towards
Sensor Setup
All sensors must be on the same subnet. We use a Subnet Mask of 255.255.255.0, with that subnet of 192.168.1.x.
All sensors are connected over Ethernet, and thus These sensors are configured each to have their own IPs
LiDAR Setup
The li Go to 192.168.1.202
And then laser on, and then motor rpm set to 0
How are the settings configured in wired settings?
- 192.168.1.100, netmask is 255.255.255.0
- I actually need to understand what this does
If it doesn’t work, make sure to turn off the firewall by doing
sudo ufw disableCamera Setup
https://github.com/ros-drivers/flir_camera_driver/tree/humble-devel
The camera’s IP will be found automatically, you just need DHCP
This README is super helpful
Camera
- Install Spinview, right click camera, and then “Auto Force fix ip”
Now, you have both cameras and lidars on the same subnet.