F1TENTH Field Usage
These are notes of the steps/commands I use to set up the F1TENTH for racing. I love how this is like a Preflight Checklist. It is very long, just shows how complicated Robotics really is.
The official docs contain useful basic information about driving the car around, but it is still missing a lot of details. The main repositories used are:
- https://github.com/f1tenth/f1tenth_system (low-level driver code to generate Odometry readings + enable teleop)
- https://github.com/CL2-UWaterloo/f1tenth_ws.git (code that I wrote myself)
- https://github.com/CL2-UWaterloo/Raceline-Optimization (to generate a Racing Line)
- https://github.com/SteveMacenski/slam_toolbox (for Mapping)
- https://github.com/f1tenth/particle_filter (Particle filter for Localization)
Password for login on car: f1tenthUW!
1. Basic Setup on the Physical Car
Setting up a Local Hotspot for NoMachine (remote Desktop GUI) Watch this tutorial. After the first time setup, you only need to try step 3.
- (First Time Setup ONLY) Settings Network Create new hotspot
- (First Time Setup ONLY) Edit connections Hotspot Mode: Hotspot
- Connect to hidden network select “Hotspot” option
# SSH Connexion Check
ssh f1tenth-uw@10.42.0.1
The password is f1tenthUW!
Enter Docker Container ROS2 only works inside a Docker container. You can get into the docker shell by running
cd ~/f1tenth_system/scripts
./resume_container af70 # only need the first 4 characters
If you forgot the name of the container (like af70...), you can run sudo docker ps -a.
The following commands are all run inside the Docker container.
Basic Boot up
You should be in /f1tenth_ws directory at this point.
. install/setup.bash
ros2 launch f1tenth_stack bringup_launch.py
Driving the car
I’ve slightly change the behavior of the joystick so it uses sticky buttons. This means that you don’t have to run after the car. Make sure that the mode is set to X (not D) for the joystick. Then, press the RB button once. Then, use the left joysticks to steer and move.
See Teleoperation for more information.
NoMachine Setup See this guide https://f1tenth.readthedocs.io/en/foxy_test/getting_started/software_setup/software_combine.html. You should know this step by heart.
2. Mapping
We use slam_toolbox to generate a map. This map will then be used to generate a set of waypoints to follow.
Run the following to start slam_toolbox
ros2 launch slam_toolbox online_async_launch.py params_file:=/f1tenth_ws/src/f1tenth_system/f1tenth_stack/config/f1tenth_online_async.yamlErrors with slam_toolbox
If you get the error
Message Filter dropping message: frame 'laser' at time 1655749660.222 for reason 'Unknown', then it is likely due to a Static Transform not being published. Simply rerunros2 launch f1tenth_stack bringup_launch.py, and then rerunslam_toolbox.
Then, open up rviz2 to visualize the live map generated by SLAM.
rviz2- Add
/mapby topic (slam_toolbox publishes the latest map to this) - (optional, I personally don’t like this) Add
/graph_visualizationby topic - On top left corner of rviz, panels add new panel add SlamToolBoxPlugin panel
Once you’re done mapping, save the map using the plugin. Map will be saved in whichever directory you ran slam_toolbox.
3. Map Post-Processing (Offline using Macbook Pro)
Once a map has been created, you need to generate a set of waypoints on this map so we can run Pure Pursuit. This process is done offline, outside the car.
Copy over the maps onto your local computer
sshpass -p 'f1tenthUW!' scp f1tenth-uw@10.42.0.1:f1tenth_ws/competition.pgm /Users/stevengong/Downloads

sshpass -p 'f1tenthUW!' scp f1tenth-uw@10.42.0.1:f1tenth_ws/competition.yaml /Users/stevengong/Downloads
How to clean map
Remove any noise. This includes dynamic obstacles and/or black dots on the map.
At this point, I recommend using Photoshop to clean up the map. There should be 2 maps you photoshop:
- Under
f1tenth_ws/maps(Map used for localization, just remove the noise) - Under
Raceline-Optimization/maps(Map used to generate raceline, make sure walls are closed, ideal racetrack) name asclean
cp /Users/stevengong/Projects/f1tenth_ws/src/particle_filter/maps/pingpong_clean.pgm /Users/stevengong/Projects/Raceline-Optimization/maps/pingpong_clean.pgm

cp /Users/stevengong/Projects/f1tenth_ws/src/particle_filter/maps/pingpong_clean.yaml /Users/stevengong/Projects/Raceline-Optimization/maps/pingpong_clean.yaml
Don't forget to change the map name in the
.yamlfileIf you change the name of the file (ex:
pingpong.pgmpingpong_clean.pgm) , then don’t forget the change the contents inside the.yamlfile.
Once the maps are cleaned, push them to the GitHub
cd ~/Projects/f1tenth_ws
git add .
git commit -m "add and cleaned up map"
git push
For the raceline map, I like to just drag and drop it into VSCode through remote-ssh (see next step).
4. Generate Waypoints / Raceline (Offline with LINUX Computer)
These need to be generated on a Linux computer. You can just use VSCode and remote ssh from your Macbook.
Option 1: Generate using Raceline Optimization
This is the preferred pipeline. ssh into the remote computer from VSCode. Then,
cd ~/Desktop/Raceline-Optimization
conda activate raceline
Run map_converter.ipynb, changing MAP_NAME to the name of the map. Make sure to look at the waypoints and see if everything is generated properly.
- Run
sanity_check.ipynbto make sure everything works.
Change inside main_globaltrac_f110.py the MAP_NAME to the name of the map.
python3 main_globaltraj_f110.pyThe waypoints should be generated in outputs/<MAP_NAME>.
Common Errors
- You might get a “At least two spline normals are crossed”. In this case, just reduce the number of points generated in
map_converter.ipynb(ex: take half of the points)- Sometimes, the solver can seem to get stuck for a long time. In this case, go in
f110.ini, and play around with increasing the numbers below
 stepsize_opts={"stepsize_prep": 0.5,
               "stepsize_reg": 1.5,
               "stepsize_interp_after_opt": 1}
To get a good safety margin, add the following
optim_opts_mintime={"width_opt": 0.6,However, if you make this value too large, the solver will run into an error.
You can run visualize_raceline.ipynb to sanity check the raceline generated.
Once you are happy with the raceline generated, right click the file and download it locally, onto the F1TENTH pure_pursuit/racelines.
You should also push on the RRT node in case you want to do dynamic obstacle avoidance
cp ~/Desktop/Raceline-Optimization/outputs/<MAP_NAME>/<OUTPUT_NAME>.csv ~/Desktop/f1tenth_ws/src/rrt/racelinesPush those changes. Now, from your Macbook, pull these changes, so then in the next step you scp the nodes onto the F1TENTH.
Option 2: Generate using the waypoint logger in simulation
Use the waypoint generator node to manually create waypoints.
ros2 run waypoint_generator waypoint_subscriber
5. Set Up Localization
To put cleaned up map into actual car (make sure to have git pulled before), just copy over the entire maps folder
sshpass -p 'f1tenthUW!' scp -r /Users/stevengong/Projects/f1tenth_ws/src/particle_filter/maps f1tenth-uw@10.42.0.1:f1tenth_ws/src/particle_filter/If THE ABOVE DOES NOT WORKKK, make sure the first chmod 777 particle_filter/maps
sshpass -p 'f1tenthUW!' scp /Users/stevengong/Projects/f1tenth_ws/src/particle_filter/maps/pingpong.pgm f1tenth-uw@10.42.0.1:f1tenth_ws/src/particle_filter/maps/competition_RAW.pgm

sshpass -p 'f1tenthUW!' scp /Users/stevengong/Projects/f1tenth_ws/src/particle_filter/maps/pingpong.yaml f1tenth-uw@10.42.0.1:f1tenth_ws/src/particle_filter/maps/competition_RAW.yaml
Update the name of the map inside the config file.
vim /f1tenth_ws/src/particle_filter/config/localize.yaml
Rebuild the code
colcon build --packages-select particle_filter && . install/setup.bash && ros2 launch particle_filter localize_launch.py
6. Running RRT + Localization
This is the improved pure pursuit with obstacle avoidance.
sshpass -p 'f1tenthUW!' scp -r /Users/stevengong/Projects/f1tenth_ws/src/rrt/ f1tenth-uw@10.42.0.1:f1tenth_ws/src/colcon build --packages-select rrt && . install/setup.bash && ros2 launch rrt rrt_launch.py
6. Running Pure Pursuit + Localization (OLD)
Change the file on your local computer, by updating the config.yaml to the right name for the raceline .csv file.
THIS IS DANGEROUS. This is where you WILL CRASH THE CAR, SO INCREASE THE SPEED GRADUALLY.
To put pure pursuit code + map into actual car:
sshpass -p 'f1tenthUW!' scp -r /Users/stevengong/Projects/f1tenth_ws/src/pure_pursuit/ f1tenth-uw@10.42.0.1:f1tenth_ws/src/colcon build --packages-select pure_pursuit && . install/setup.bash && ros2 launch pure_pursuit pure_pursuit_launch.py
This should open up rviz automatically for you. However, the map will not appear run localization using the following command
ros2 launch particle_filter localize_launch.pySTART SLOW
You should incrementally test your code. We do NOT want to crash this car at all and break it. I almost broke the LiDAR at one point.
- Start with velocity_profile ~0.3, and incrementally work your way up to make sure it works. 0.3 0.5 0.7
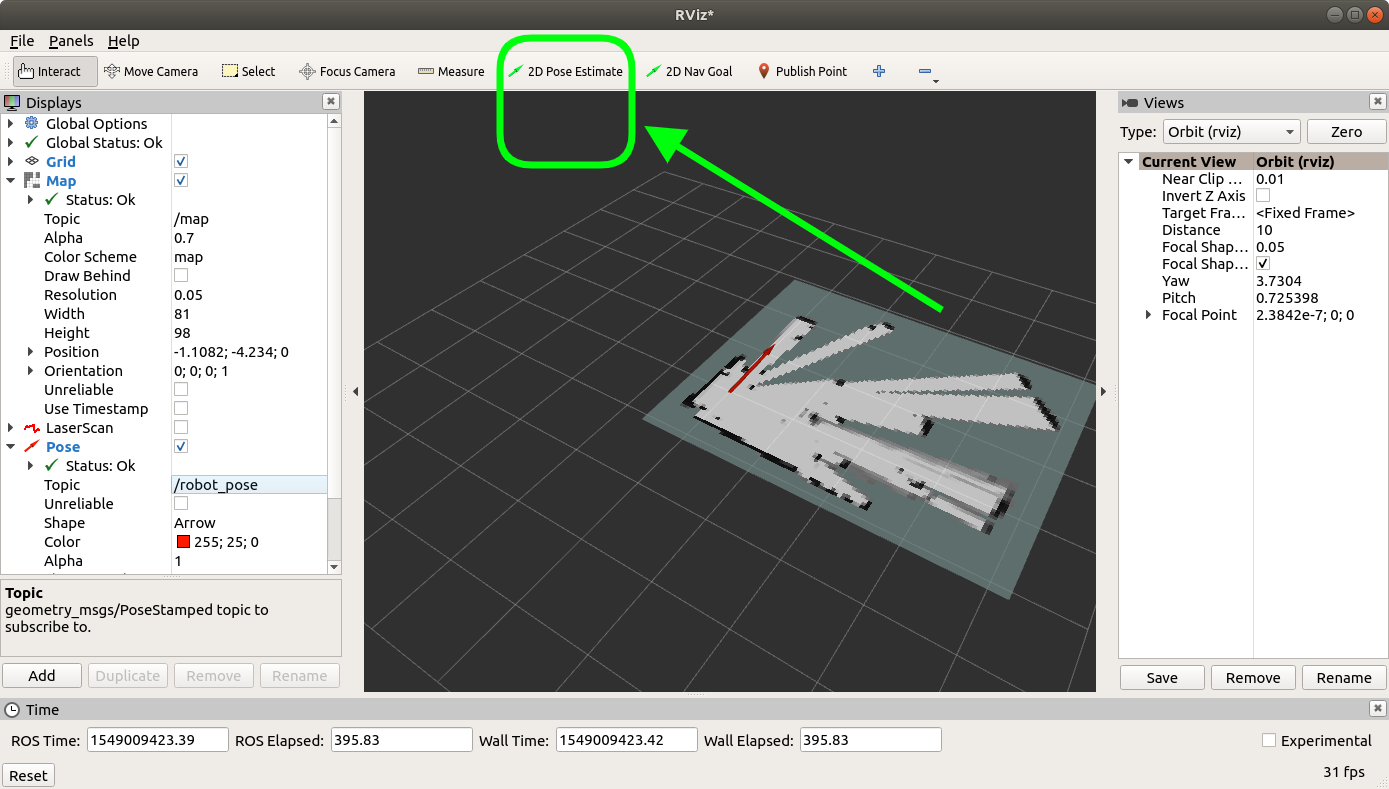
- Make sure localization is correctly estimating the position, by looking at the rviz map. If the estimate is wrong, you can set the initial pose in rviz:
Then, you can just start with the deadman’s switch.
TODO: how to turn off deadman switch??
7. Getting the car to drive
Just press the lb button. To stop it, press the lb button again. The potentially dangerous scenario is when you lose connection to the car.
Other Notes
- Eduroam seems to work when you disconnect the Hokuyo LiDAR…
- For software development: My recommendation is to make those changes on your local computer, and then copy them over onto the physical car using the
scpcommand that I showed above- This is better than just writing code on the car? If the car crashes or you lose any code
Other Nodes
UNLEASH MAX SPEED
Change speed_max to 100000 in /f1tenth_ws/src/f1tenth_system/f1tenth_stack/config/vesc.yaml.
Improve VESC Performance
I find that the way they tell you to set up the VESC is really annoying. Just use the setup guide for Motors FOC that comes with VESC. They will figure out the parameters for you. See VESC page for more information.
Safety node
colcon build --packages-select safety_node && . install/setup.bash && ros2 run safety_node safety_node.py
Running the Camera Node
ros2 run usb_cam usb_cam_node_exe
Then, you can run different object detectors? More of this Perception investigation is done with the AWS DeepRacer.